Imagine the constant drip-drip-drip of a kitchen faucet, a symphony of annoyance that can test your patience. This seemingly minor inconvenience can waste water, increase your utility bills, and ruin the serenity of your home. If you find yourself in this predicament with a single-handle Moen kitchen faucet, don’t despair! Fixing a dripping Moen faucet is a manageable DIY task with the right guidance. In this article, we’ll provide you with a step-by-step guide, expert advice, and troubleshooting tips to help restore your faucet to its pristine glory.
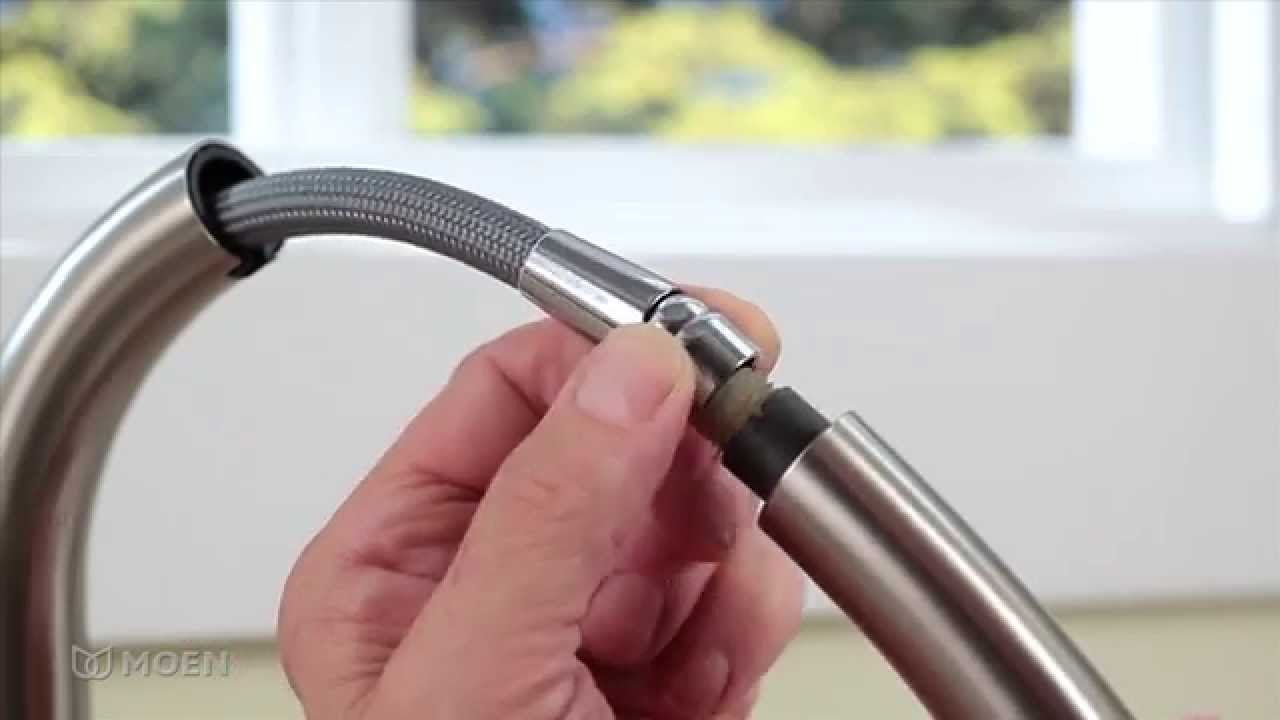
Image: home.alquilercastilloshinchables.info
Before embarking on this repair adventure, gather the necessary tools: an adjustable wrench, a hex wrench, a screwdriver, a replacement aerator (if needed), and a pair of pliers. With these tools in hand, let’s delve into the intricacies of fixing a dripping Moen kitchen faucet.
Understanding Single-Handle Moen Kitchen Faucets
Single-handle Moen kitchen faucets offer convenience and ease of use, combining hot and cold water with a single lever. Inside, the cartridge is the heart of the faucet, regulating water flow and mixing hot and cold water. If the cartridge becomes worn or damaged, it can cause the faucet to drip.
The aerator, located at the tip of the faucet, plays a crucial role in reducing water flow and providing a smooth, aerated stream. Over time, minerals and debris can clog the aerator, reducing water pressure and potentially causing the faucet to drip.
Step-by-Step Repair Guide
- Turn off the water supply: Locate the shut-off valves under the sink and turn them off to stop water flow to the faucet.
- Remove the handle: Use an adjustable wrench to loosen the set screw under the handle and lift the handle off the stem.
- Remove the retaining nut: Below the handle, use an adjustable wrench to loosen the large nut that holds the cartridge in place.
- Extract the old cartridge: Grip the cartridge with pliers and gently pull it straight up to remove it.
- Install the new cartridge: Insert the new cartridge into the opening and press down firmly until it seats properly.
- Tighten the retaining nut: Use the adjustable wrench to tighten the retaining nut securely.
- Reattach the handle: Place the handle over the stem and tighten the set screw using an adjustable wrench.
- Turn on the water supply: Slowly open the shut-off valves to restore water flow to the faucet.
If these steps don’t resolve the dripping issue, move on to the next section for tips and expert advice.
Tips and Expert Advice
Inspect the aerator: Unscrew the aerator from the faucet and check if it’s clogged with minerals or debris. If so, clean it or replace it with a new one.
Replace the O-rings: O-rings are small rubber gaskets that create a watertight seal inside the faucet. Over time, O-rings can deteriorate and cause leaks. Replacing them is an effective way to stop drips.
Lubricate the moving parts: Use a silicone-based lubricant to apply a thin layer to the O-rings and other moving parts to prevent friction and wear.
Tighten loose connections: Use an adjustable wrench to check and tighten any loose connections around the faucet, including the supply lines and the base of the faucet.
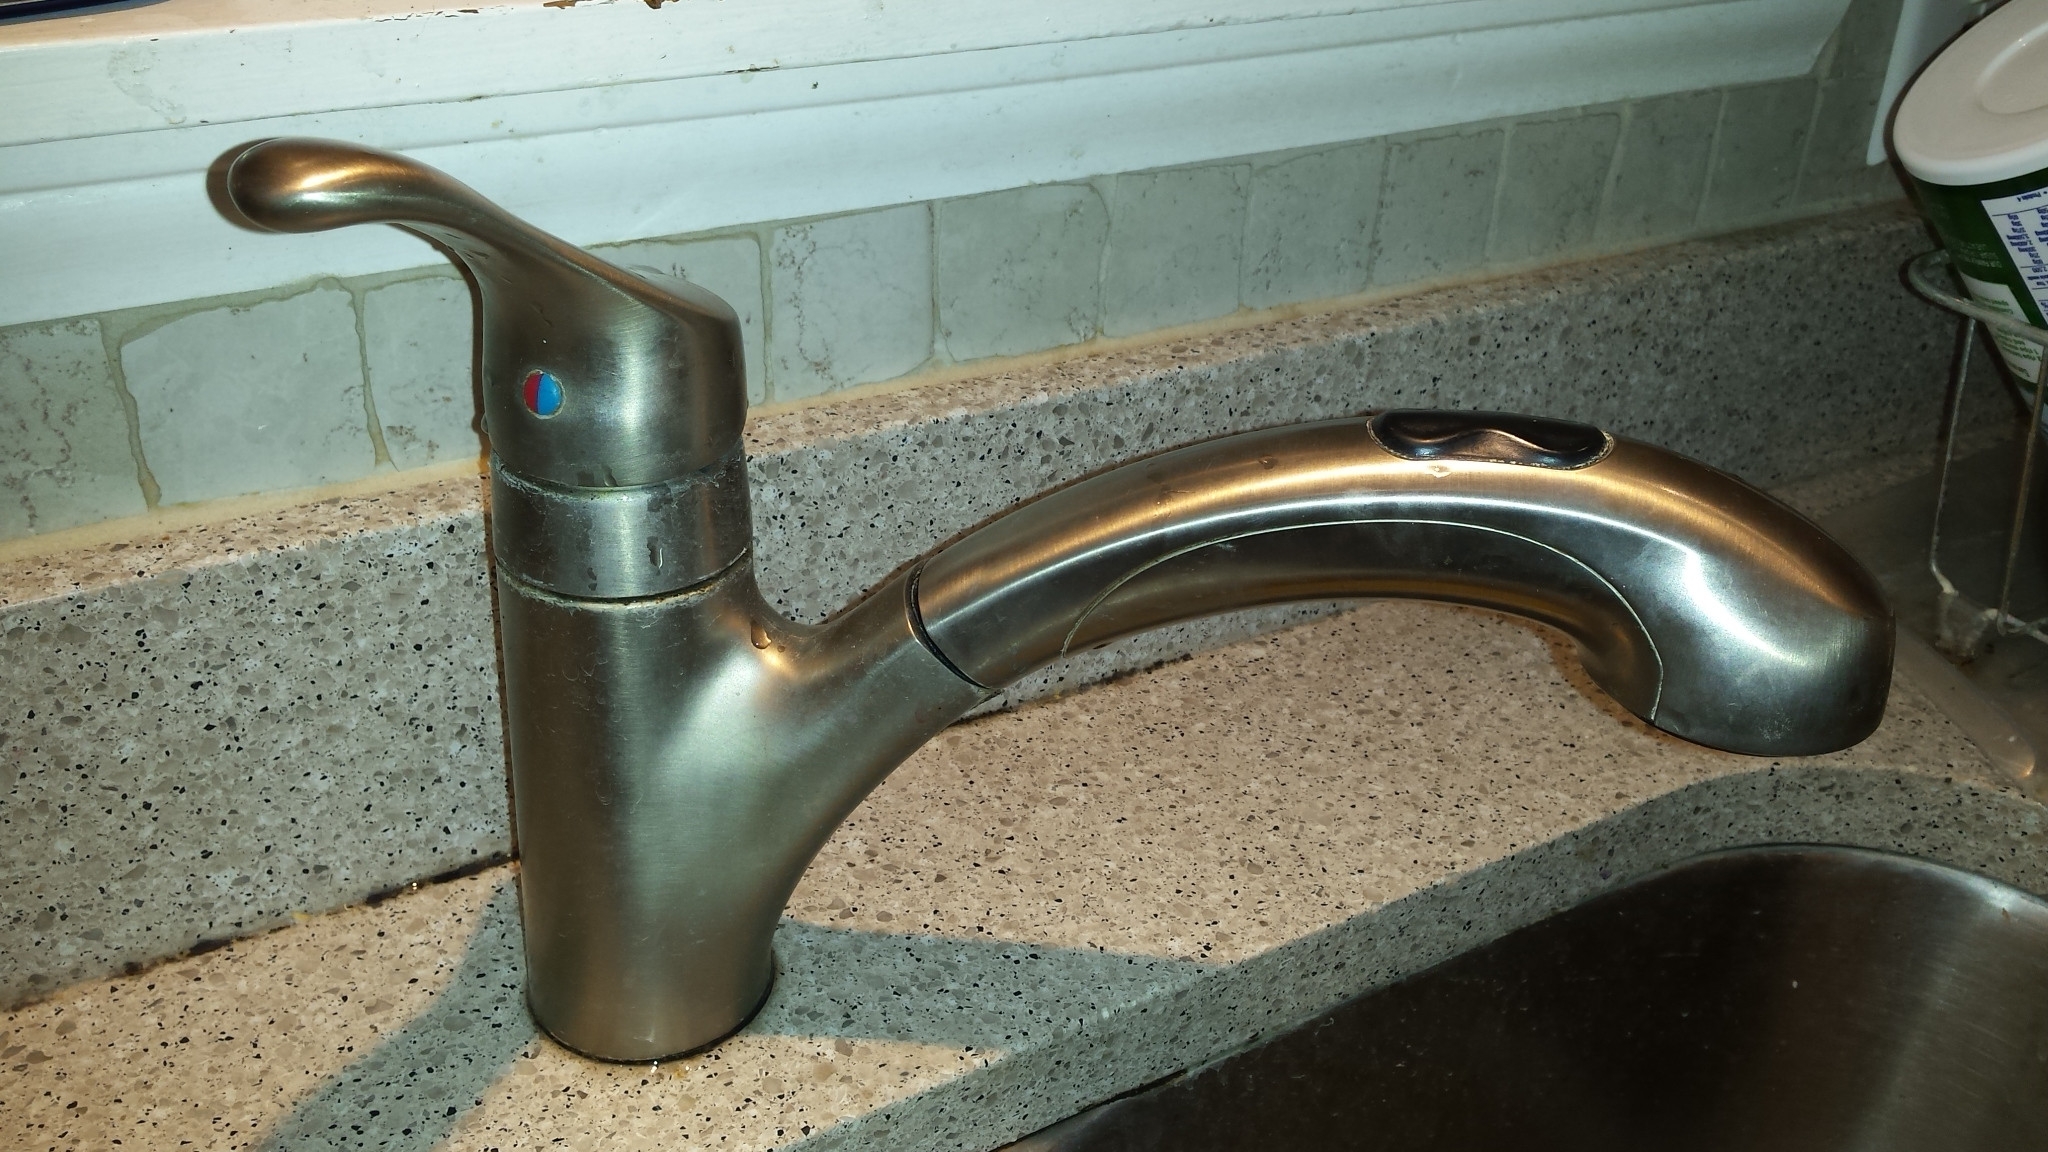
Image: alquilercastilloshinchables.info
Frequently Asked Questions
- Is it safe to fix a Moen faucet myself? Yes, as long as you follow the instructions carefully and turn off the water supply before starting.
- What is the average cost to fix a dripping Moen faucet? The cost can vary depending on the issue, but replacing the cartridge typically costs between $20 and $50.
- How long does it take to fix a dripping Moen faucet? With the right tools and preparation, fixing a dripping Moen faucet usually takes about 30 minutes to an hour.
How To Fix A Dripping Single Handle Moen Kitchen Faucet
Conclusion
Armed with these tips and instructions, you’re well-equipped to tackle the challenge of fixing a dripping single-handle Moen kitchen faucet. Remember to work carefully, follow the steps diligently, and seek professional assistance if needed. By restoring your faucet to its proper working condition, you’ll not only save money but also enjoy the peace and tranquility of a drip-free kitchen.
Are you ready to put your DIY skills to the test? Let us know in the comments section below whether you’ve successfully fixed your dripping Moen faucet or have any additional questions.