Introduction
With the rise of personalization, sublimation tumblers have become a popular canvas for expressing individuality and style. However, the thrill of creating these vibrant works of art can quickly turn into a nightmare if you accidentally burn your tumbler. Don’t despair, though! With the right knowledge and techniques, you can salvage your prized tumbler and restore its pristine appearance.
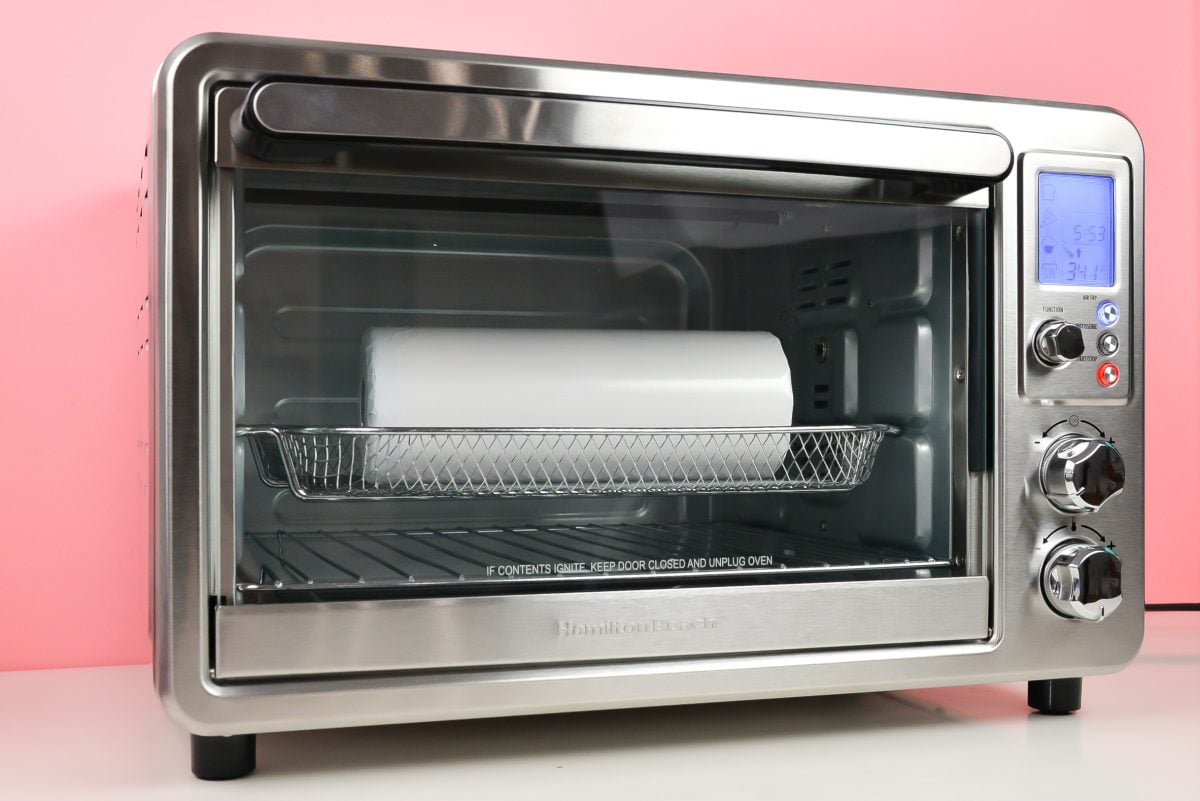
Image: heyletsmakestuff.com
Before diving into the specifics of scorching, let’s unravel the underlying cause responsible for these unfortunate events — excess heat. During the sublimation process, high temperatures are essential for transferring the ink onto the tumbler, but if they become too intense, they can singe the surface, leaving behind unsightly brown or black marks.
Understanding Sublimation Tumbler Scorching
Preventing tumbler scorching begins with understanding the factors that contribute to it:
- Excessive Temperature: Failure to adhere to the recommended temperature settings for your tumbler can lead to scorched surfaces.
- Uneven Heat Distribution: If the heat is not distributed evenly around the tumbler, certain areas might become hotter than others, resulting in scorching.
Restoring Your Tumbler: A Step-by-Step Guide
Now that you know the potential causes of scorching, let’s delve into the crucial steps to restore your damaged tumbler:
Step 1: Gather Your Materials
- Sandpaper (150, 220, 400, 600 grit)
- Soft cloth or sponge
- Rubbing alcohol
- Heat gun or hair dryer
- Clear spray sealant (optional)
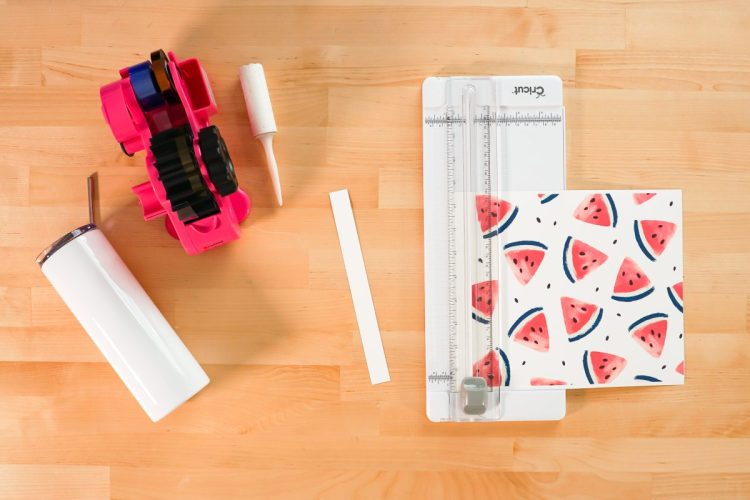
Image: heyletsmakestuff.com
Step 2: Sanding and Cleaning
- Gently sand the scorched area using 150-grit sandpaper, moving in circular motions.
- Progress to finer grits (220, 400, and 600) to remove any remaining scratches, wiping away the dust in between.
- Wipe down the tumbler with a soft cloth dampened with rubbing alcohol to remove any residue.
Step 3: Applying Heat
- Heat the scorched area with a heat gun or hair dryer, holding it several inches away to avoid further scorching.
- Gradually move the heat source around, applying even pressure to melt the surface.
- Continue heating until the scorched marks fade away and the surface is smooth.
Step 4: Final Touches
Once the scorched area is restored, you may notice a slight color difference between the repaired spot and the rest of the tumbler. To rectify this, you can apply a thin coat of clear spray sealant to blend the surface and protect it from future damage.
Tips for Preventing Scorching
To prevent future scorching incidents, follow these expert tips:
- Adhere to Temperature Settings: Always refer to the manufacturer’s guidelines for recommended temperature settings for your specific tumbler.
- Use a Heat Transfer Fan: A heat transfer fan ensures even heat distribution, minimizing the risk of scorching.
- Monitor the Process: Keep a close eye on the tumbler during the sublimation process to prevent overheating.
- Experiment on Scrap Material: Before working on your actual tumbler, test the heat settings and techniques on a piece of scrap material.
FAQ
Q: Can I use a magic eraser to remove scorch marks?
A: While magic erasers are effective for some stains, they should not be used on sublimation tumblers as they can damage the surface.
Q: How do I prevent my tumbler from discoloring in the future?
A: UV rays can cause sublimation prints to fade over time. To protect your tumbler, apply a clear spray sealant or avoid prolonged exposure to direct sunlight.
Q: Is it safe to use a tumbler with scorched marks?
A: Scorched marks can affect the durability and aesthetics of your tumbler. For safety and appearance, it is recommended to repair them using the methods outlined above.
How To Fix A Burnt Sublimation Tumbler
Conclusion
Mistakes are a part of the sublimation journey, but they don’t have to mean the end of your tumbler’s life. Armed with the knowledge and techniques presented in this guide, you can resurrect your scorched tumbler back to its original glory. Remember, prevention is always better than cure, so follow the expert tips and avoid excessive heat to keep your tumblers pristine.
Have you ever experienced a scorched sublimation tumbler? Share your rescue stories and lessons learned in the comments below. Let’s help the sublimation community conquer this common challenge together!